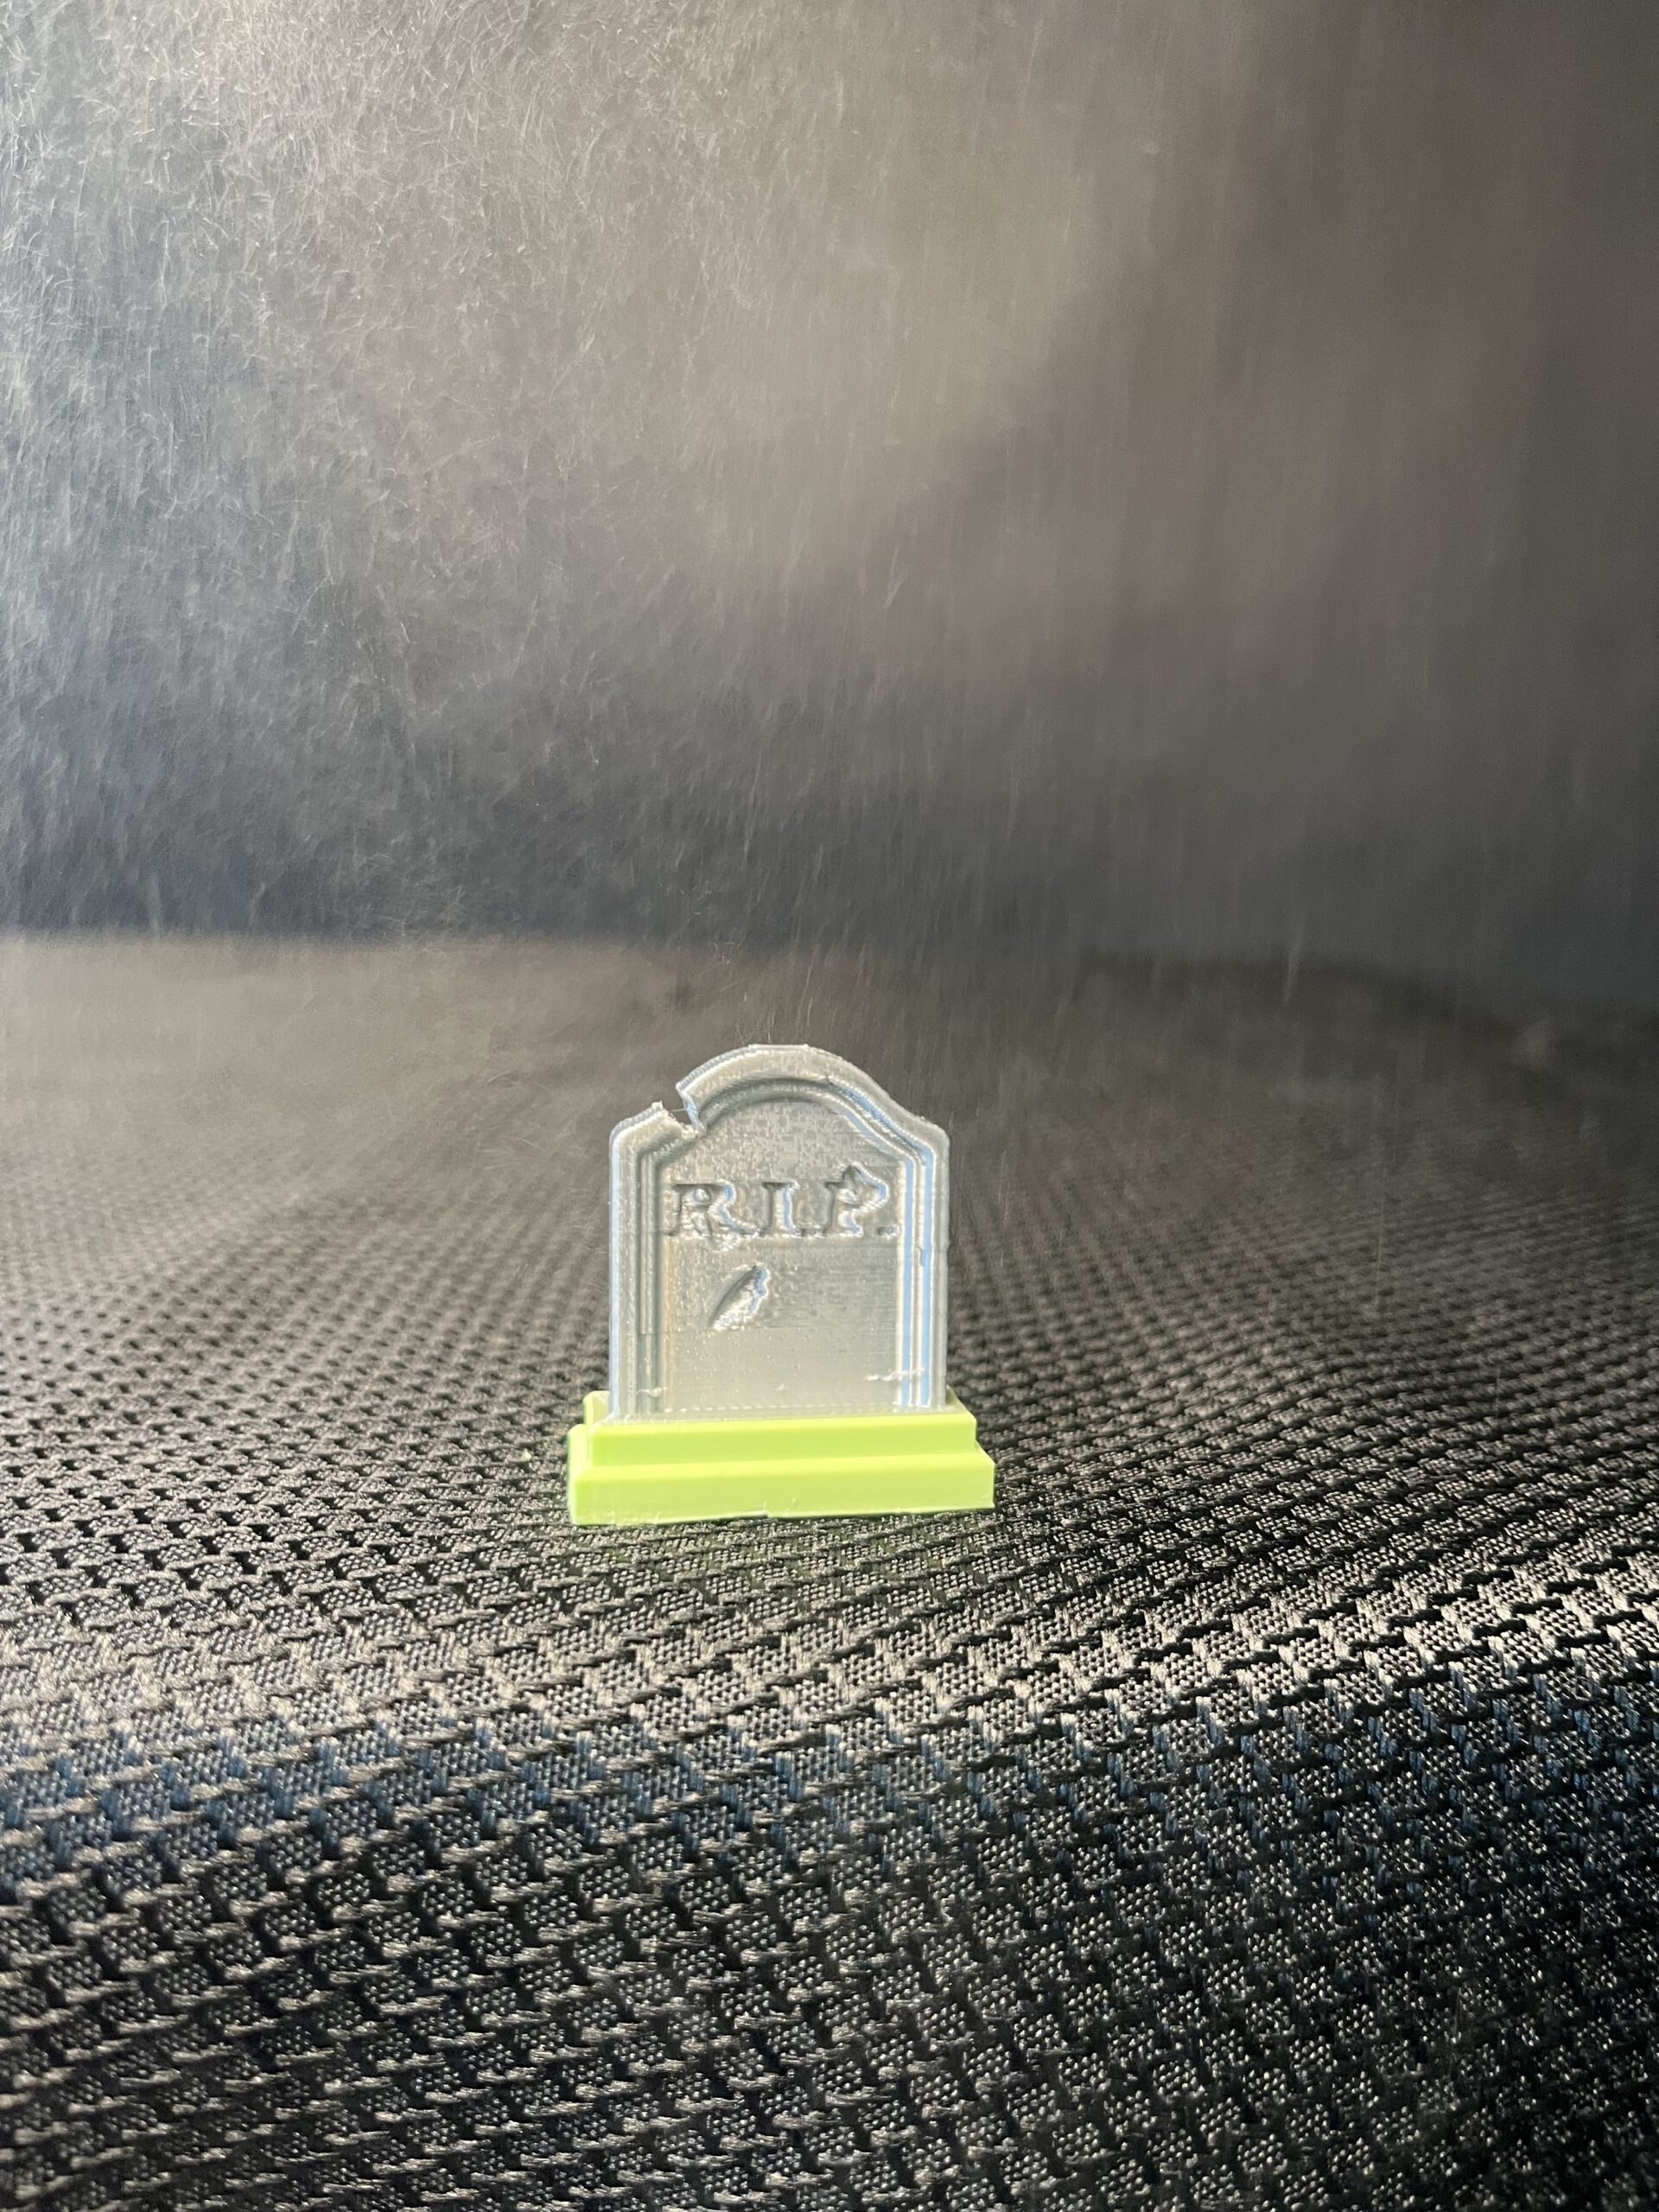
Picking the Print
Picking the print was actually pretty easy. I knew I wanted to do something Halloween-themed, and since it was Halloween season, all the popular prints on Thingiverse were already Halloween-themed. The biggest challenge in picking my print was finding a print that could conceivably be printed in under 30 minutes. There were some larger, more detailed prints that I thought looked cool, but I ultimately had to reject due to their large print times. Overall, though, I found my print pretty easily.
Printing the Print
This was probably the most difficult part of the challenge. We had a lot of 3D printing appointments during the time this challenge was running, so finding a time where the printer was open was a little difficult. Also, the first time I printed my grave, it cracked somehow. It was fine and still finished printing, but I accidentally dropped it and it shattered. So I had to print it again, lol.
Picture of the Print
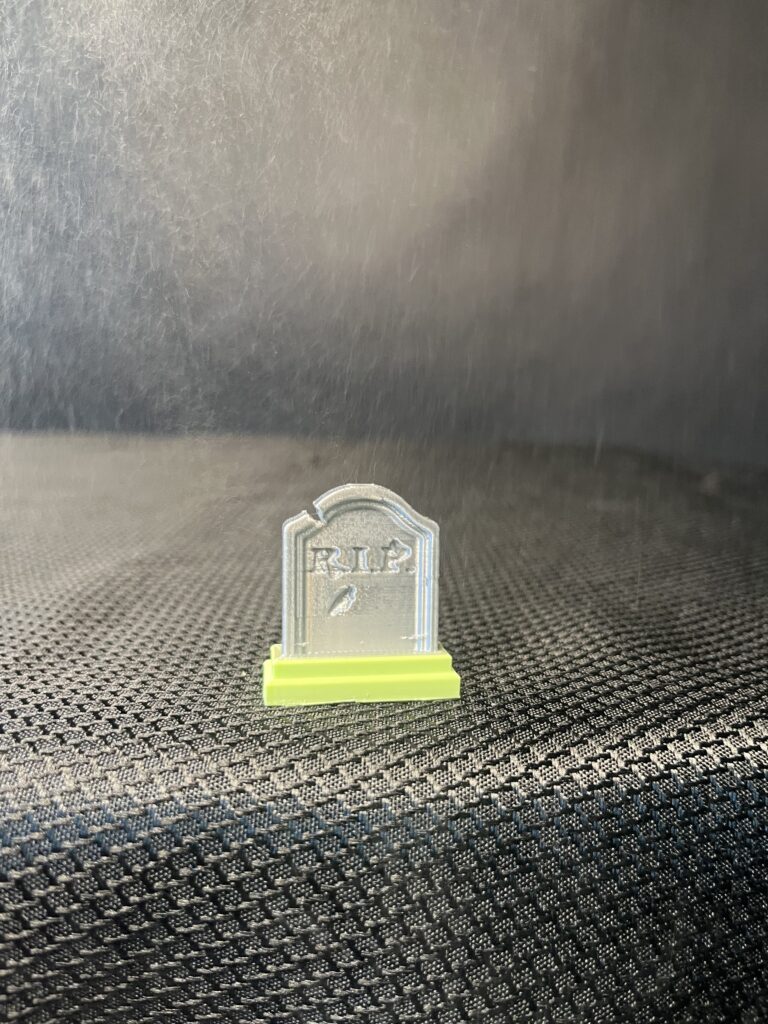
This was also pretty easy to do. Unfortunately, any time I wanted to take a picture of my print, I had a podcasting appointment. Thankfully, the lights were easy to set up, and it was just a matter of finding the props that I wanted to use. I found a black sheet in the cabinet. I don’t know what it is for, but it had a cool texture, and I wanted a solid-colored surface for my print to sit on. You can see the texture in the picture. Isn’t that cool? Hopefully it wasn’t super important and something I wasn’t supposed to use, haha. Anyway, I also used the bottle of alcohol spray like I joked about at a prior meeting. I wanted a cool mist effect. It…kind of worked? Idk, I think it looks a bit like I sneezed right as I was taking the picture, which is NOT what I wanted. I thought it would look cool and mysterious, but oh well. Something to keep in mind for the next time I have to take a picture of a 3D printed grave, I guess.